You’re paying for aroma and freshness, then watching half the bunch wilt into the food bin. And all the while, that bright windowsill is sitting there unused. There’s a small, satisfying tweak that turns an ordinary glass of water into a near-endless mint factory - no potting bench, no garden and no specialist kit.
I picked up this habit on a damp Tuesday that smelt like rain. Outside a corner shop, a friend shoved a fistful of mint stems into my hand - the sort of tired green that usually collapses in a jug by nightfall. In her kitchen we neatened the stalks, stood them in a jam jar and parked them on the sill beside a bowl of lemons. Over the next few days, pale little bumps appeared at the nodes, then roots unfurled like tiny eyelashes into the clear water, and the whole room carried a soft, sugary scent. We’ve all had the moment when the herb packet turns black at the back of the fridge - this felt like reclaiming a small, everyday joy. The “secret” is almost laughably simple.
Why a glass of water beats a bag of compost for mint propagation on the windowsill
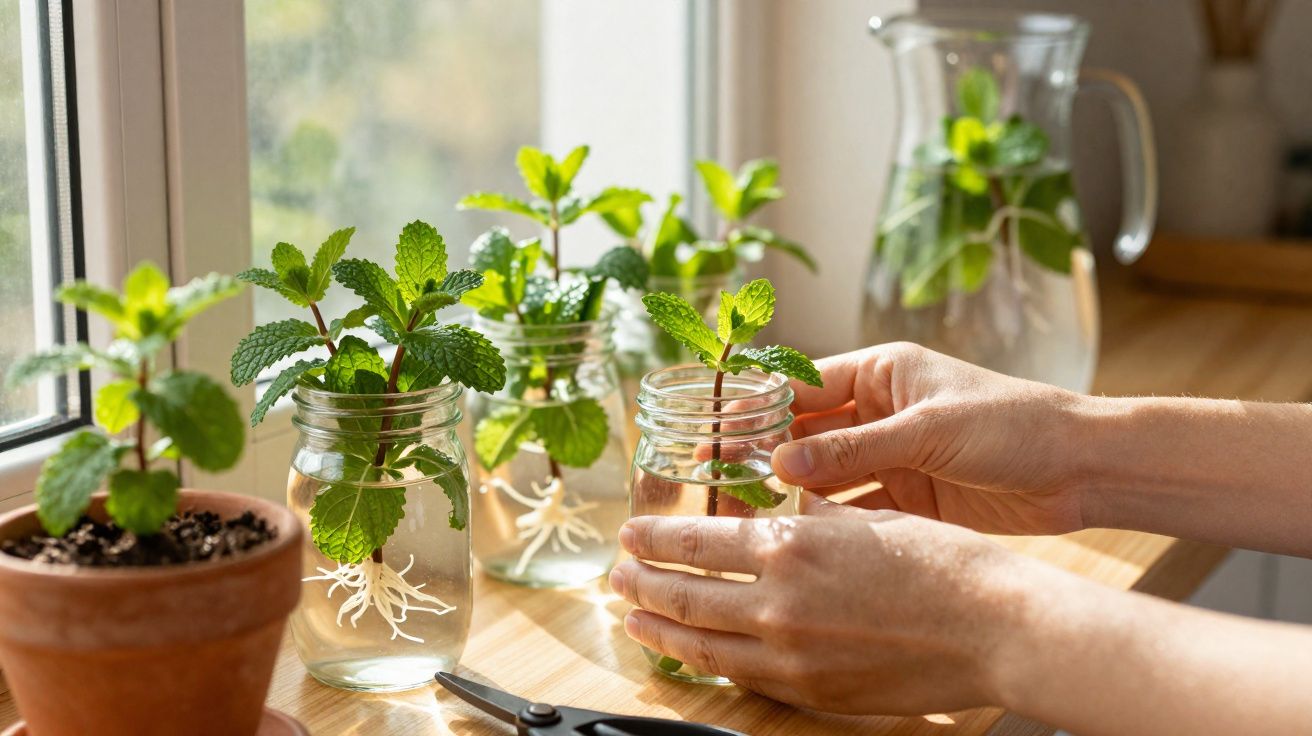
Mint is a natural runner. Give it a reliable line of moisture and it charges ahead. A plain glass lets you see the exact moment it decides to grow, which is oddly absorbing and, in a quiet way, calming. No soil. No faff. Just stems, light and a short wait that smells like summer even when the sky is in a mood.
The plant does most of the work for you. Each node - the slight knuckle where leaves emerge - is packed with dormant potential and natural hormones that encourage roots. When you submerge a node and remove the leaves that would otherwise sit in water, the cutting shifts into survival mode, and mint’s version of survival is rooting quickly. Clean, oxygen-rich water helps keep the stem healthy; leaves kept above the waterline reduce rot; and bright, indirect light tells the plant it’s worth investing in new growth. That’s the whole mechanism.
If you want a real-world benchmark, consider Priya: she buys a single 79p bunch on a Friday and, by the end of the month, turns it into nine plants. She takes ten pencil-thick stems, roots eight successfully and expects to lose two to mush - not a disaster, just realistic odds. In a warm kitchen (around 20–22°C), roots typically show in 4–7 days and reach a pot-ready length in 10–14 days. Cooler rooms slow things down, but mint is stubborn; it will get there on its own timetable.
One extra advantage of starting in water: you can spot problems early. Cloudy water, a slippery stem or a leaf that’s dipped below the surface are all quick fixes, and you can trim and reset before you lose the cutting.
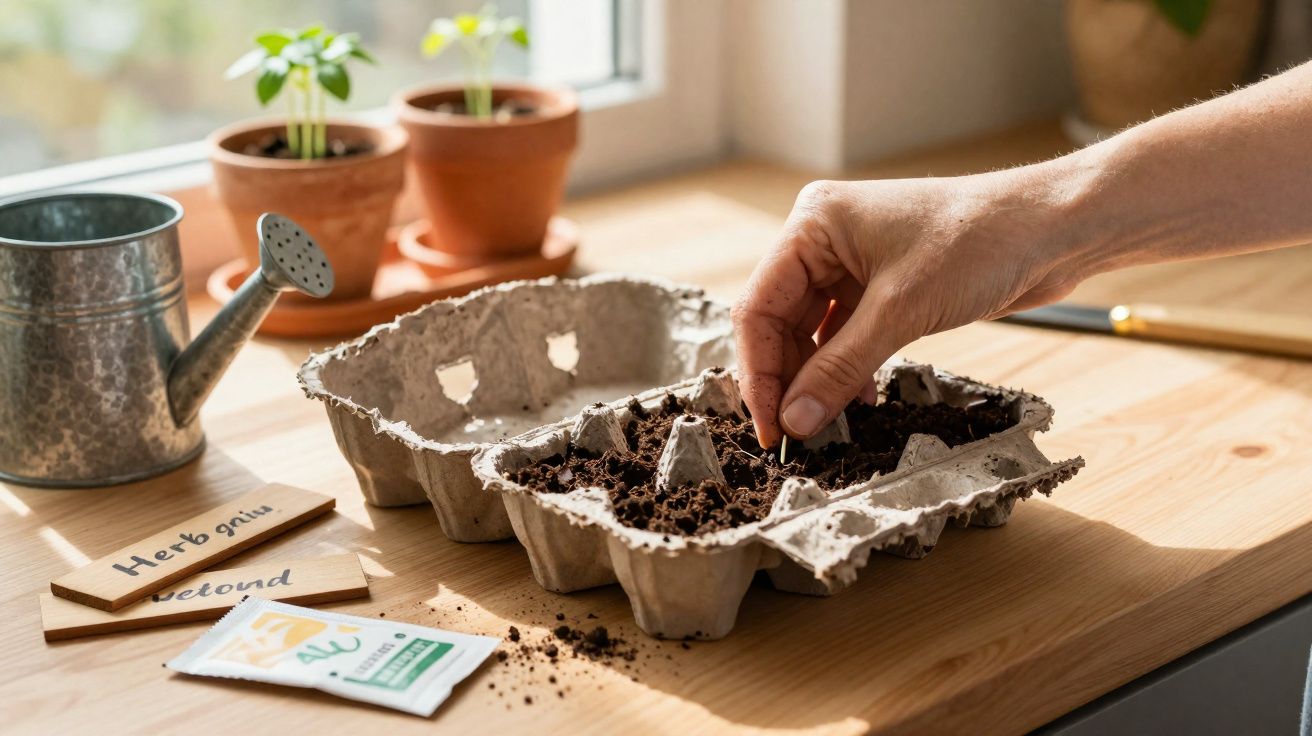
Step-by-step: the windowsill water method for mint
- Choose your stems. Take 10–15 cm cuttings from healthy mint. Aim for stems that are fresh and green rather than old and woody.
- Cut in the right place. Snip the stem from the mother plant just above a node so the parent plant can keep growing. Then make a fresh 45-degree cut just below a node on the cutting.
- Strip the lower leaves. Remove any leaves that would sit below the waterline.
- Stand the cuttings in water. Place the stems in a glass or jar of room-temperature water, making sure at least one node is submerged. Keep all leaves dry.
- Give bright, indirect light. Put the jar somewhere bright but not scorching - an east-facing window is ideal, or about 1 metre back from a very sunny pane.
- Refresh regularly. Change the water every two days and rinse the glass if it develops a film.
- Pot up at the right time. When roots reach 2–5 cm, plant the cuttings into compost.
Avoid flowering spikes and very woody stems - they tend to sulk, flop and rot before they root. And don’t let leaves sit underwater; they turn slimy quickly and can spoil the whole jar. A clear container makes it easy to monitor root growth, though you can wrap the glass with brown paper if you want to discourage algae. Tap water is fine in most UK homes; if yours smells heavily of chlorine, leaving it to stand for a few hours can help - though, realistically, you’ll still succeed if you simply do it most of the time.
Some people swear by rooting gel. Mint almost never needs it. What matters is clean water, steady light and patience you can measure in kettles boiled rather than weeks crossed off the calendar.
“Mint is the plant that promises forgiveness - cut it, water it, and it forgives everything,” an allotment neighbour once told me, pouring out advice as casually as tea.
- Cut length: 10–15 cm, with at least 2–3 nodes per stem
- Water rhythm: refresh every 48 hours; rinse the glass when it develops a film
- Light: bright, indirect; avoid midday scorch through plain glass
- Potting mix: peat-free compost with perlite for drainage, roughly 3:1
Mint that keeps on giving: from jars to pots, and pots to pitchers
Once the roots hit that 2–5 cm sweet spot, plant each cutting into a small pot. Firm the compost gently (don’t compact it) and water once to settle everything around the roots. Even if you never move beyond a windowsill, you can harvest like someone with a garden: pinch the tops for tea, tabbouleh, salads and the inevitable mojito you fully deserve after a day that refused to end.
After the risk of frost has passed, you can shift pots outdoors, or keep a rotating trio indoors so one plant rests while the others keep you stocked. It feels like a small magic trick playing out on the sill. Tell someone. Share a jar. Mint multiplies faster when you pass it on.
A practical note for long-term success: once potted, mint prefers consistently moist compost rather than extremes. If the surface dries out completely in a warm kitchen, growth slows and leaves can turn crisp at the edges. A quick finger test (if the top couple of centimetres are dry, water) is usually enough.
It’s also worth choosing a variety you genuinely like living with. Spearmint is classic for mint sauce and salads; peppermint is stronger for tea. Whichever you pick, keep labels if you’re rooting more than one type - they all look deceptively similar once they’re thriving.
| Key point | Detail | Benefit to you |
|---|---|---|
| Cut at a node | Slice just below a node and submerge that node | Fastest, most reliable root growth |
| Refresh the water | Every 48 hours, with leaves kept above the waterline | Prevents rot and slimy stems |
| Pot at 2–5 cm | Roots long enough to anchor, short enough to adapt | Higher survival and stronger plants |
FAQ
- Can I propagate from supermarket mint? Yes. Pick stems that look green and lively, not woody or flowering. Recut the ends at home and start the process the same day for the best chance of success.
- How long until I can harvest? Often 3–4 weeks after potting. Begin by pinching out just the tips to encourage bushier growth, then harvest up to a third of each plant at a time.
- Why are my stems turning brown and mushy? Usually leaves were left underwater, or you left the same water too long. Strip lower leaves, take a fresh clean cut, replace the water, and try again in brighter (but still indirect) light.
- Do I need rooting hormone or fertiliser in the water? Not for mint. It roots readily on its own. Only feed lightly after potting, using a gentle liquid feed every couple of weeks during active growth.
- Will mint take over my garden? In open ground, yes - it spreads. Keep it in a pot, or sink a bottomless bucket into a bed to contain the runners. Indoors, one 15–20 cm pot per cutting works well.


Comments
No comments yet. Be the first to comment!
Leave a Comment