Light coming back in late winter makes it almost impossible not to get the potager going early. The simplest workaround is already in most kitchens: egg cartons. They’re cardboard, dimpled, conveniently divided, and essentially free. The real skill is not merely using them, but using them well.
I first clocked the idea in a neighbour’s flat on a wet March afternoon. The kitchen carried a faint mix of coffee and damp cardboard, and a line of egg cartons sat on the windowsill like small grey boats. In each hollow: a thumbprint of compost, a pinprick of green, and a label snipped from a cereal box. No stacked trays, no heat mat, no humming grow lights-just a quiet, workable set-up.
There was something assured about it, a muted optimism behind the glass. Seeds are not demanding: they want air, moisture, warmth, and room for roots to breathe. Cardboard egg cartons, oddly enough, provide those basics in a thrifty, almost poetic way-so long as you understand where “simple” ends and “sloppy” begins.
Why egg cartons are a smart seed-starting hack
Cardboard cartons are designed to cushion delicate things and cope with a bit of moisture. For germination, that’s a genuine advantage. Each cell keeps seedlings separated, reduces root tangles, and helps you use compost sparingly-so you’re not opening a whole bag just for a couple of seed packets.
Because cardboard slowly wicks and releases water, it’s less likely to create stagnant, swampy pockets. On a bright windowsill, that bit of breathability matters: damp on the outside, airy through the middle, snug at the top. It makes a surprisingly decent first home for tomatoes, chillies, lettuce, basil, even cabbage-small pots, small commitments, real results.
I watched someone sow 18 lettuce seeds across half a dozen carton cups and spend under a pound all in. A spoonful of peat-free seed compost, water poured from a mug, then cling film draped over the top and held with clothes pegs. Day five: green specks. Day twelve: compact cotyledons pushing towards a washed-out sky.
When it was time to move them on, they cut the cups apart with kitchen scissors and transplanted the whole lot-cardboard included-into a larger module. The paper softened, roots found their way through, and nothing went into a sulk. It genuinely felt like a miniature greenhouse built from breakfast. I left thinking: this is doable in any flat, in any week, on any budget.
The charm has proper horticultural logic behind it. Paper fibres let air through, and seeds need oxygen as much as they need moisture. Plastic trays can hold dampness too well and, if conditions are unlucky, increase the risk of damping-off. An egg carton-pierced for drainage and watered from below-acts like a wick: it draws up what it needs and lets the rest evaporate.
Temperature matters as well. A carton sitting on a room-temperature tray holds warmth more steadily than a cold saucer. At around 18–22°C, most common veg will germinate happily. Tomatoes typically sprout in 5–10 days, peppers in 10–21 days, and lettuce in 3–7 days. Give seeds a microclimate (a clear cover, a touch of airflow, and a breathable “pot”), and those timeframes become far more reliable-meaning fewer wasted sowings.
There’s also a sustainability win that doesn’t require any sermonising: reusing what you already have cuts down on waste and avoids extra plastic. Small habits add up in a potager, and this one is genuinely within reach. If you can stretch to seeds and a bag of compost, you can start.
One practical extra that’s easy to overlook: use cartons that are clean and dry. If yours has been sitting in a damp porch or has any food residue, compost it and grab another. Starting with a fresh carton reduces unwanted mould and keeps the windowsill set-up much more pleasant.
The method: from egg carton to sturdy seedlings
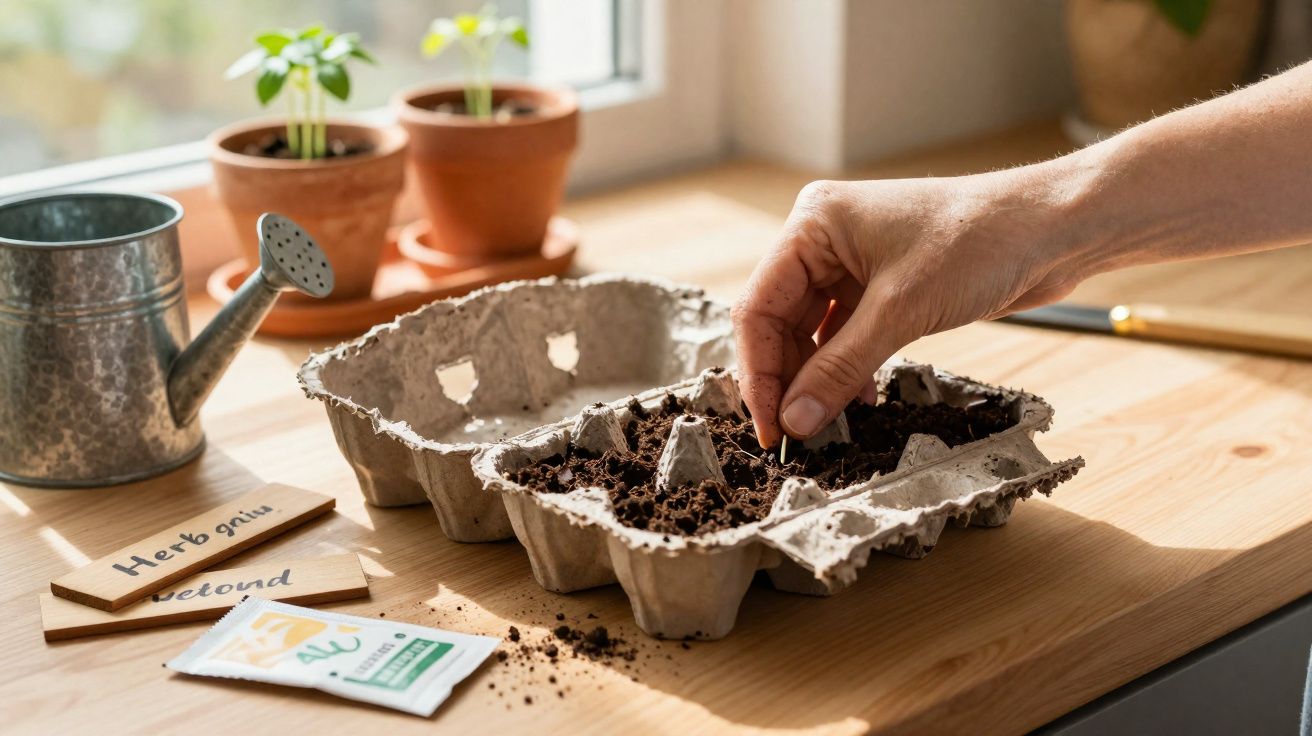
Choose a plain cardboard egg carton-avoid glossy, foam, or plastic ones. Remove the lid and keep it to use as a drip tray. With a skewer, poke two or three small holes in the base of each cup, then add a small pinch of compost to cover the punctures so compost doesn’t immediately fall through.
Fill each cup with seed-starting compost that’s been pre-moistened so it lightly clumps when squeezed. Sow one or two seeds per cup, placing them at a depth roughly twice the seed’s thickness. Label each row using a thin strip of card.
Mist the surface, then sit the carton in a shallow tray containing a few millimetres of water so you can bottom-water. Drape clear food wrap (or a cut-down freezer bag) loosely over the top to create a mini dome, leaving a small gap for air. Put it somewhere warm and bright but out of harsh midday sun. And, realistically, nobody manages it perfectly every day-so aim for a rhythm: a quick check morning and evening, topping up only when the carton feels noticeably lighter.
“Treat seeds like guests you’ve invited: give them a seat, some air, a drink, and space to leave when they’re ready.”
- Water from below to avoid splashing stems and encouraging mould.
- As soon as you spot green, crack the cover open; remove it completely after two days.
- Turn the carton daily so seedlings don’t lean hard towards the light.
- Thin to one seedling per cup using scissors-snip, don’t pull.
- Gently brush your hand over the tops to mimic a breeze and strengthen stems.
The most common error is too much water. Yes, cardboard wicks moisture-but a tray that stays constantly wet becomes an invitation to fungus. Keep the tray water shallow, and let the carton lighten before you refill it. If the surface turns green, scrape it back and dust with a pinch of cinnamon-an old gardener’s trick that can quietly help.
Light is the next stumbling block. Even a bright south-facing window can be disappointing in late winter. Raise the carton closer to the glass, or add a small LED grow bulb for 12–14 hours. Most of us have had that moment when seedlings stretch overnight like giraffes and we pretend it was intentional.
Timing can trip you up too. Don’t sow everything at once just because you’ve got extra eggs. Stagger sowings weekly so you can pot on without panic. Start with a small first wave, learn what your windowsill actually does, then scale up with what thrives. Small wins beat big regrets.
A final small improvement that pays off in a budget potager: keep a quick note of sowing dates and germination times (even on the carton lid). It makes repeat rounds far easier, and it helps you spot which varieties are worth your space next year.
Transplanting, hardening off, and when to plant the whole cup
When roots begin to web around the cup and the first true leaves appear, it’s time to move on. You’ve got two straightforward options.
Option one: cut out the cup and plant it whole into a larger module tray or directly into the bed. Slice a small slit down the side so roots can escape easily, and bury the rim so it doesn’t act like a wick and pull moisture away from the compost surface.
Option two: if you need to keep the cup going a bit longer, pot it into a 9 cm pot with fresh compost. With tomatoes, plant deeper to encourage extra roots along the stem. Basil tends to enjoy snug quarters; lettuces cope well with early moves.
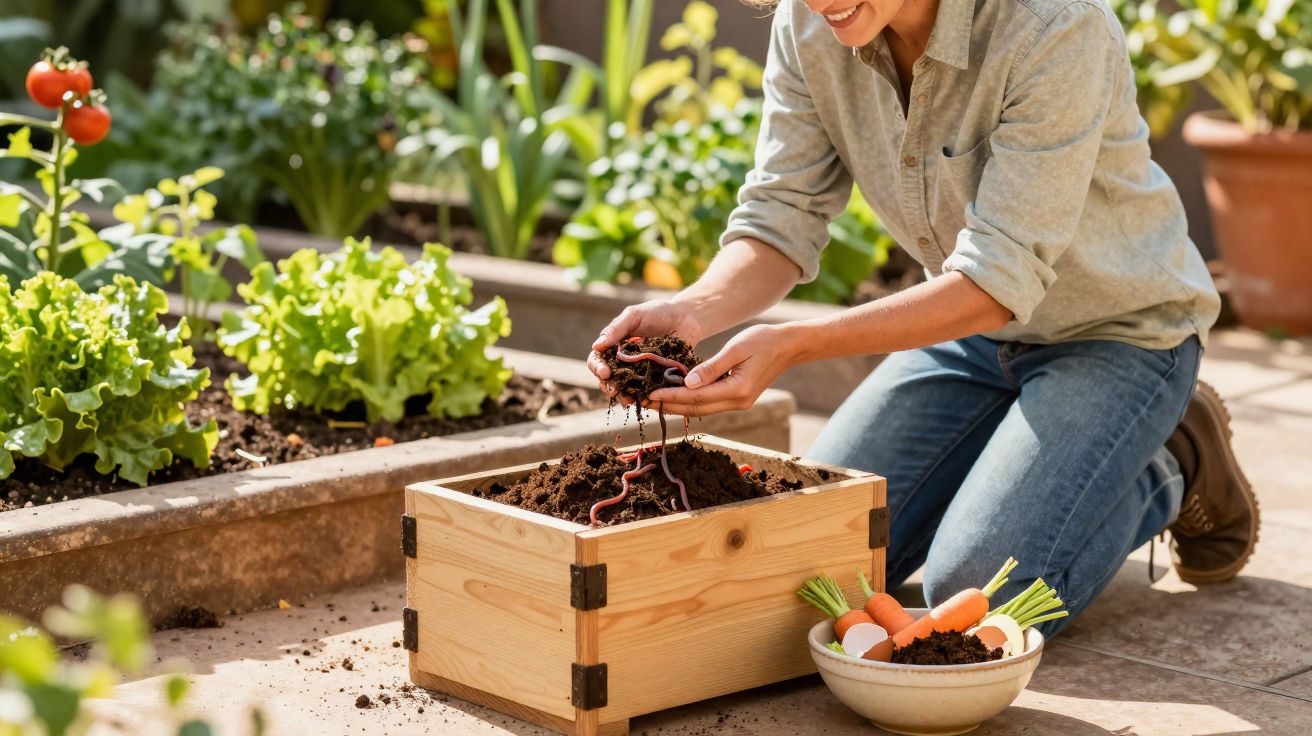
Harden off for about seven days: start with a couple of hours outside in shade, then gradually increase both time outdoors and light levels. Indoors, a little airflow helps too-a gentle fan for an hour a day reduces damping-off and encourages sturdier stems. If a cup turns soft and mushy, there’s no need to panic-it’s simply paper returning to soil. Tear, plant, and let the roots get on with it.
Egg cartons in a budget potager: what this small hack changes
Seed starting is far less about equipment and far more about repetition. The egg carton method lowers the barrier so you actually begin-and that’s the part that transforms everything. You try more, lose less money, and build confidence earlier. Hand a spare carton to a neighbour, swap seeds for a different variety, compare photos a week later: momentum multiplies.
It also nudges you into routines that fit real life: small batches, simple labels, quick checks, a tidy footprint on the sill. It turns the potager from a “someday” plan into something you practise now. While shops push new plastic trays every spring, your breakfast box becomes a nursery. That isn’t nostalgia-it’s practicality.
What starts as a casual “why not” becomes a quiet system. Cardboard breathes, compost stays steadier, seedlings grow sturdier, and spending stays low. Pass the idea to someone just starting out. Some of the best potagers begin with an egg carton and a cup of tea.
| Key point | Detail | Why it matters for you |
|---|---|---|
| Choose cardboard and add drainage | Pierce 2–3 holes per cup; avoid plastic/foam cartons | Reduces waterlogging and damping-off |
| Bottom-water and ventilate | Keep tray water shallow; cover loosely; remove cover after germination | Maintains steady moisture without soggy stems |
| Transplant cup and all | Cut out, slit the side, bury the rim; harden off for 7 days | Lower-stress moves and stronger seedlings |
FAQs
- Which seeds do best in egg cartons? Leafy greens such as lettuce, spinach, and Asian greens; also tomatoes, chillies, brassicas, and herbs like basil and parsley. Larger seeds (beans, peas) usually want deeper cells or are better direct sown.
- Do I need a heat mat? Not necessarily. A warm room at 18–22°C suits most crops. Peppers and aubergines germinate faster with extra warmth, but a warm airing cupboard start (then straight into good light) can also work.
- Will the carton go mouldy? A little surface fuzz isn’t the end. Increase airflow, water from the tray, and scrape back green algae. A light sprinkle of cinnamon can help keep fungi in check.
- How do I stop leggy seedlings? Increase light and rotate daily. Move closer to the window, add a small LED for 12–14 hours, and keep temperatures moderate after germination so growth stays compact.
- Can I reuse the same carton? It’s best to compost it after one round. If you want to reuse, bake the empty carton at 100°C for 15 minutes to dry it and reduce spores, then store it somewhere airy.

Comments
No comments yet. Be the first to comment!
Leave a Comment